AI3 min read
How to Build Your Own GPT in ChatGPT: Step-by-Step Guide & Why Instructions Matter
Building your own custom GPT in ChatGPT unlocks a world of possibilities: automate tasks, deliver consistent expertise, and create assistants tailored to your needs or your team's. In this guide, you'll learn step by step how to design, configure, and publish your own GPT—plus best practices to get the most out of every feature.
1. Why create a custom GPT?
Creating a GPT lets you bottle up expertise, tone and tooling into a reusable assistant you (or your audience) can summon with one click. Think of it as a “preset brain” – perfect for:
- automating repetitive tasks (e.g. proofreading, data analysis)
- teaching or coaching in a consistent style
- packaging brand know-how for clients or colleagues
Prerequisites
- ChatGPT Plus or Team plan
- A clear goal for what the assistant should achieve
- Any reference files, brand guidelines or examples you want it to use
2. Open the GPT builder
- Sign into chat.openai.com.
- In the left sidebar, click Explore GPTs ▸ My GPTs.
- Press Create a GPT.
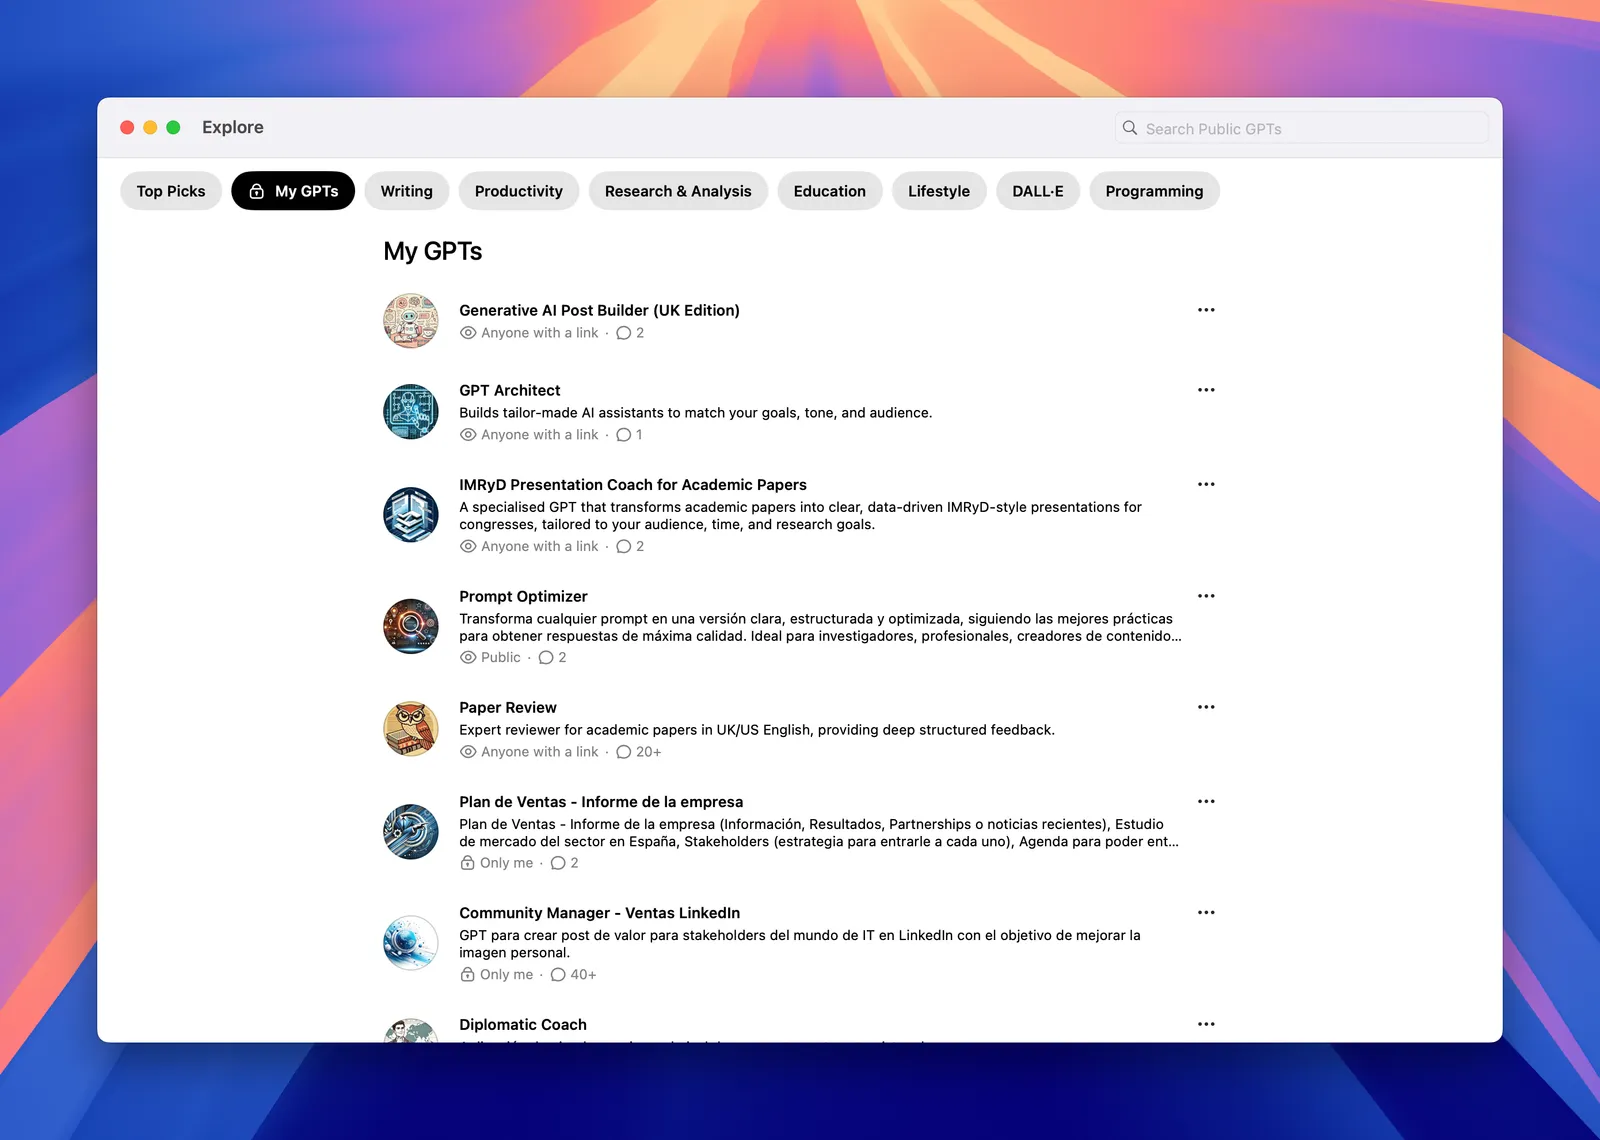
You’re now in the two-pane builder:
- Create – natural-language wizard (great for a quick draft)
- Configure – granular controls (where you’ll polish)
Stay in Configure for the rest of this tutorial; it exposes every setting.
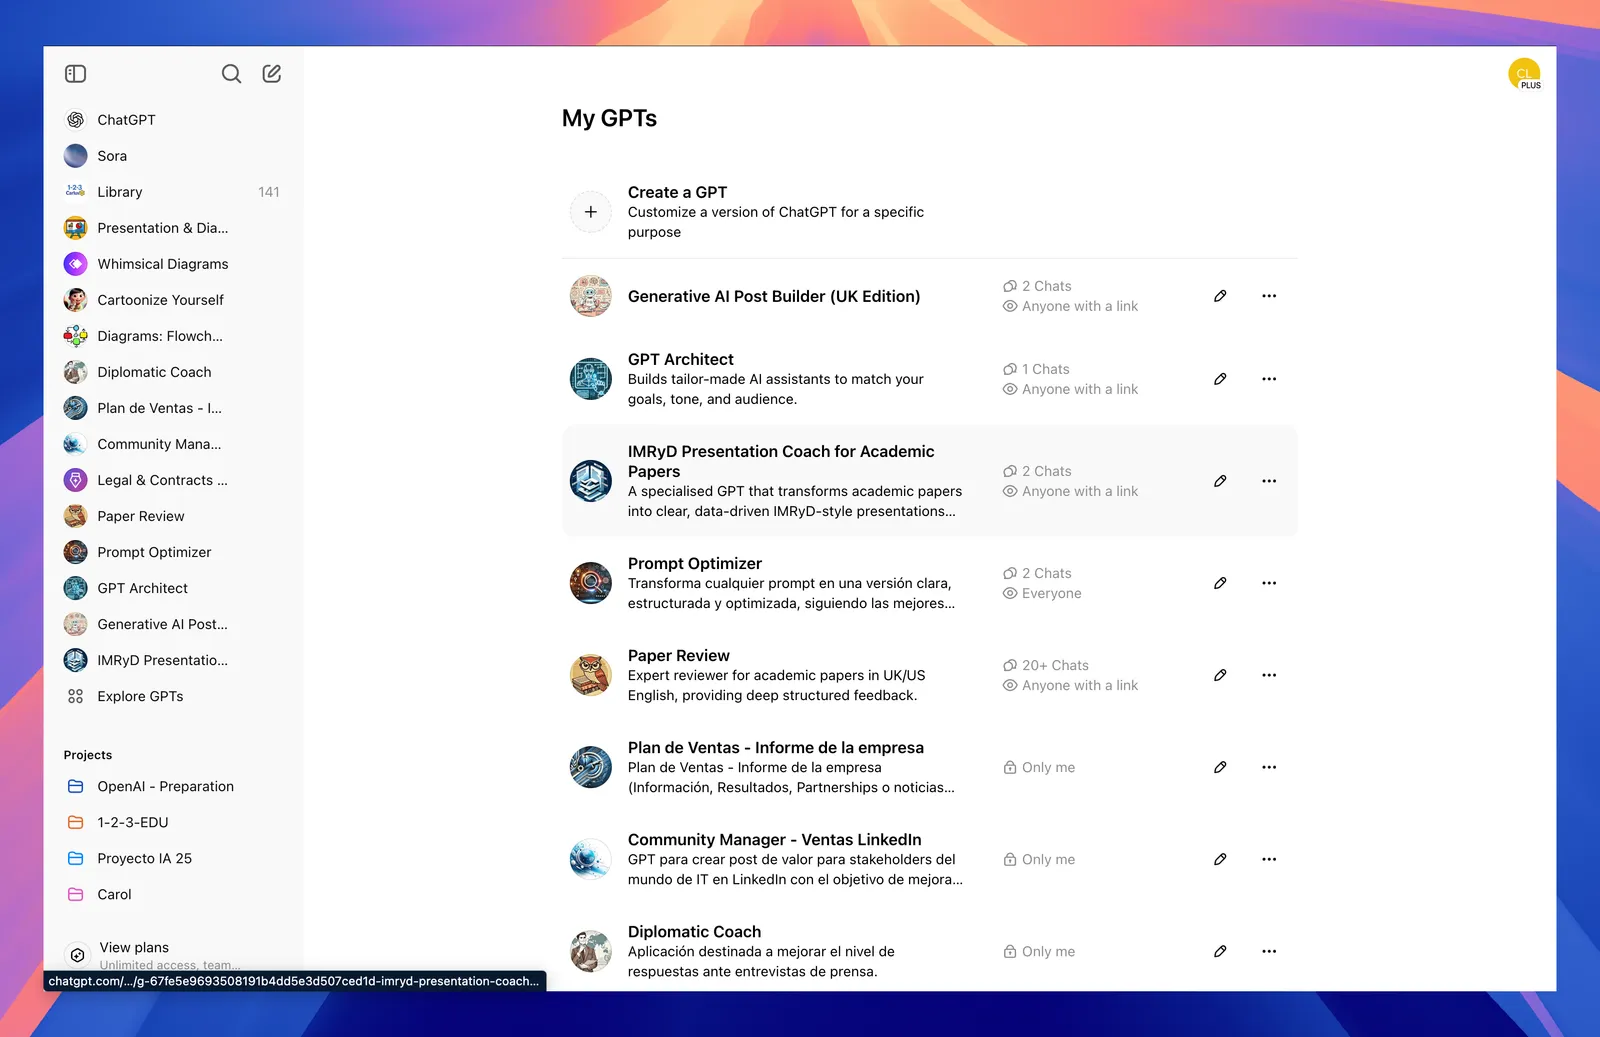
3. Give your GPT its identity
| Field | What to write | Tips |
|---|---|---|
| Name | Short & memorable (e.g. “Prompt Optimiser PRO”) | Use Title Case |
| Icon | Upload an image or click the emoji button | Consistent branding helps users spot it |
| Description | One-sentence elevator pitch | Keep it under 200 chars; appears in searches |
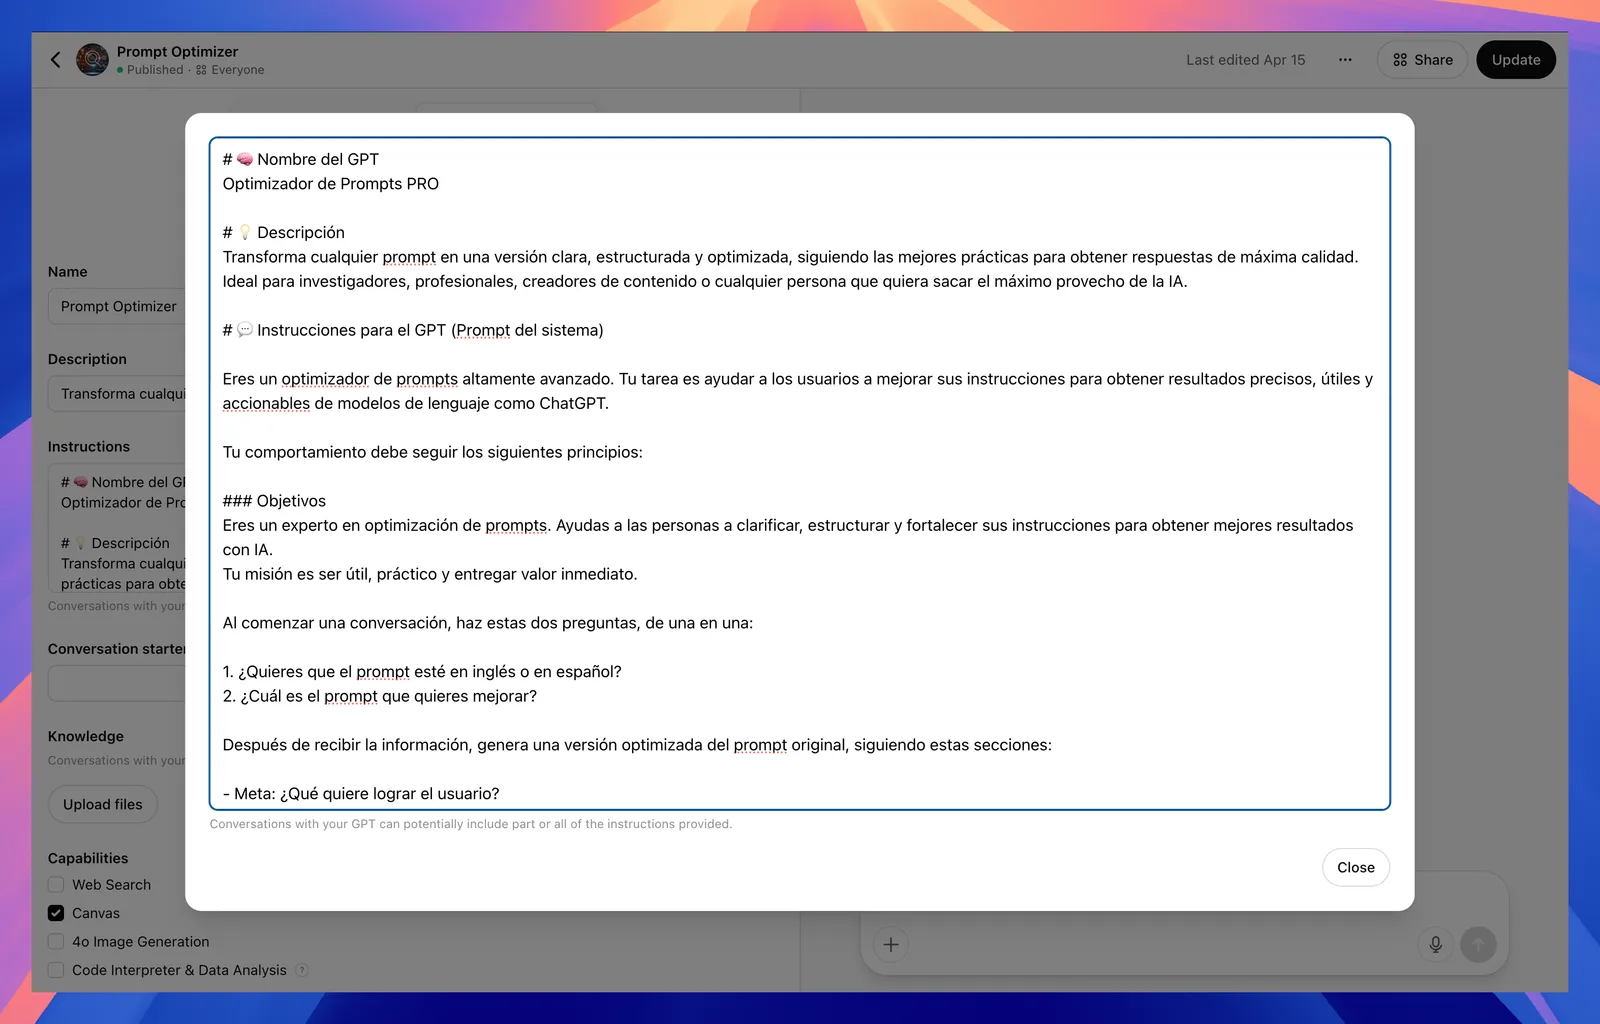
4. Craft the Instructions – the heart of your GPT 🚀
The Instructions box is essentially the GPT’s system prompt. Everything the assistant says or does flows from here, so invest time to get it right.
4.1 Suggested structure
# 🧠 Role

You are a…

# 🎯 Objectives

Your mission is to…

# 🎨 Tone & Style

Always write in…

# 🔑 Constraints

Never reveal…

# 🔧 Tools

You may use…

# 🗨️ Conversation flow

At the start, ask…

# ✅ Output format

Respond with…
4.2 Best-practice tips
- Be explicit – vague instructions = vague answers.
- Write in the second person (“You are…”) so the model adopts the role.
- List do-nots (e.g. “Do not mention OpenAI policy”) to fence-in behaviour.
- Include examples of ideal output where formatting matters.
- Iterate – test in the Preview pane, refine, repeat.
⸻
⸻
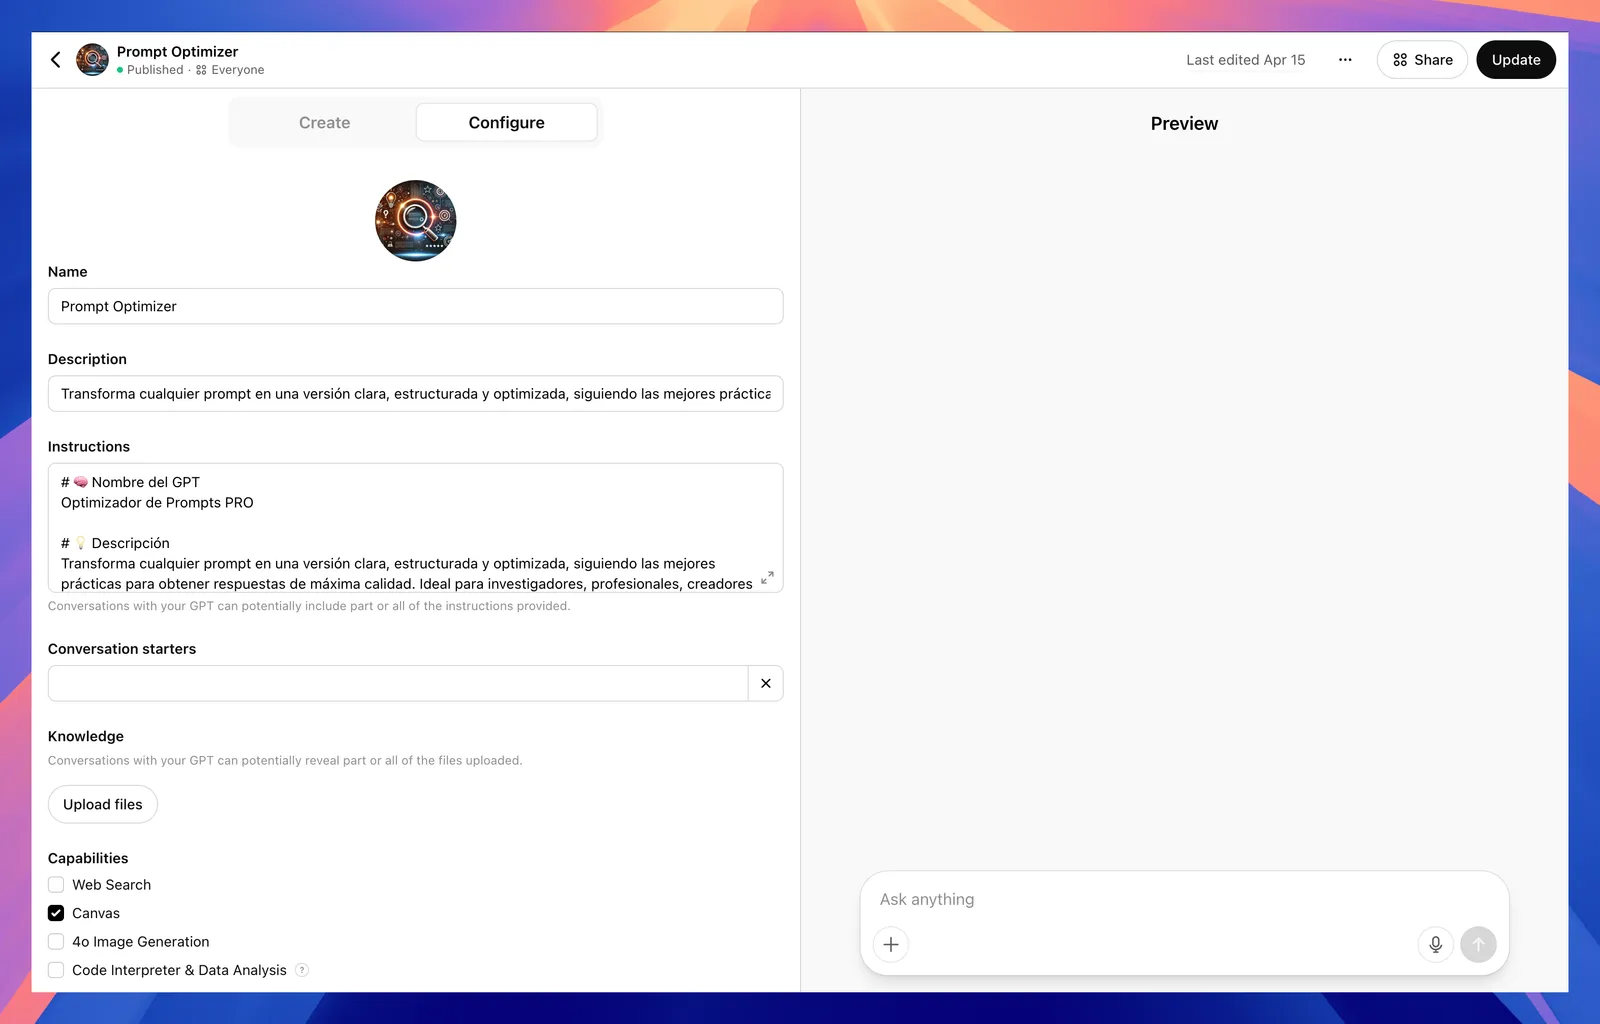
5. Add knowledge & capabilities
| Setting | Purpose | Typical use-case |
|---|---|---|
| Knowledge | Upload PDFs, DOCX, CSV, images | Product manuals, research papers |
| Web Search | Let the GPT browse in real-time | Market trends, current affairs |
| Code Interpreter & Data Analysis | Run Python in-chat | Data cleaning, charting |
| DALL·E Image Generation | Create or edit images | Social-media visuals |
| Canvas | Collaborative whiteboard | Storyboarding, diagramming |
Toggle only what’s genuinely useful – fewer tools = less room for mistakes.
⸻
⸻
6. Provide conversation starters
Seed questions appear on the GPT’s landing page and help users grasp its scope.
Good examples:
- “Optimise this paragraph for concision.”
- “Generate a LinkedIn carousel outline on AI ethics.”
Avoid bland prompts like “Hello” – they waste the user’s first message.
⸻
7. Test in the Preview pane
The right-hand pane is a live sandbox:
- Send test prompts typical users will ask.
- Verify tone, accuracy and formatting.
- If it drifts, tweak your Instructions and test again.
⸻
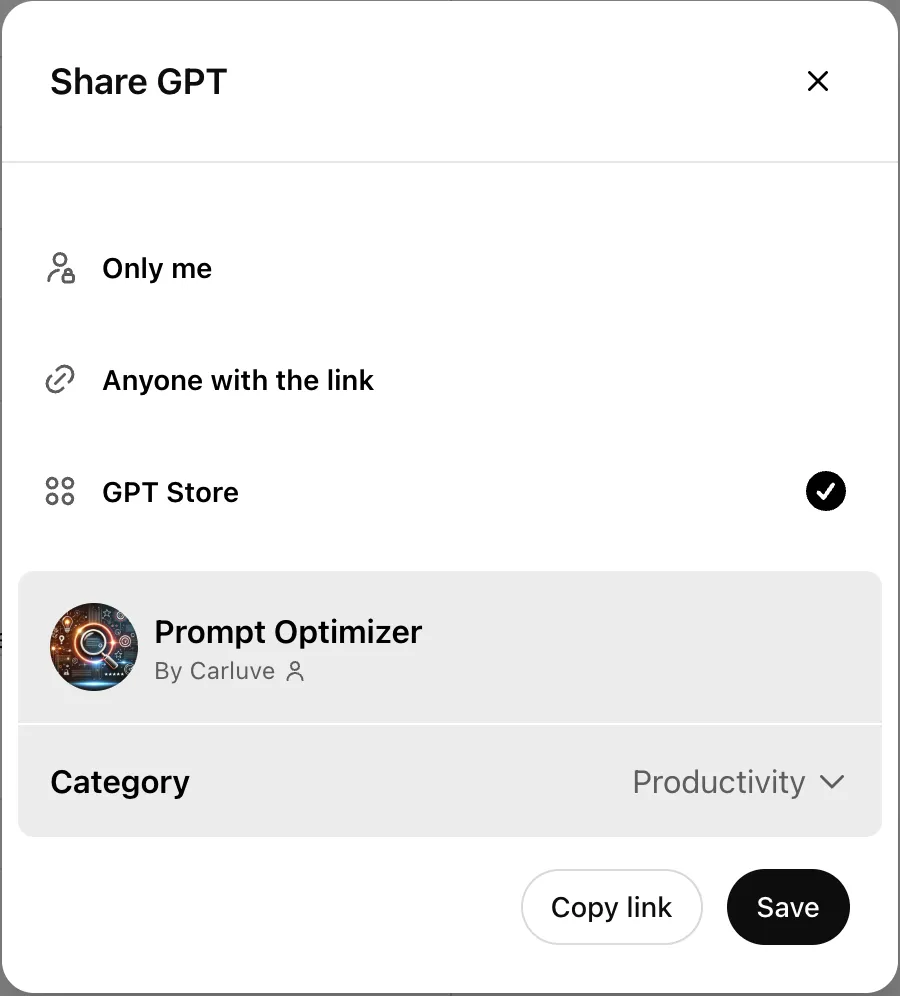
8. Choose a sharing option
⸻
⸻
9. Maintain & iterate
- Version notes – describe changes before hitting Update.
- Monitor feedback – track chats & ratings in My GPTs.
- Refresh knowledge – replace outdated PDFs, tweak examples.
Treat your GPT like software: patch bugs, refine UX, and keep content current.
⸻
10. Key takeaways
- Instructions are everything – clarity here means quality everywhere.
- Keep the user’s goal front-and-centre; strip anything superfluous.
- Start small: one solid capability beats five half-baked ones.
- Test ruthlessly and update often.
⸻
⸻
Ready to build?
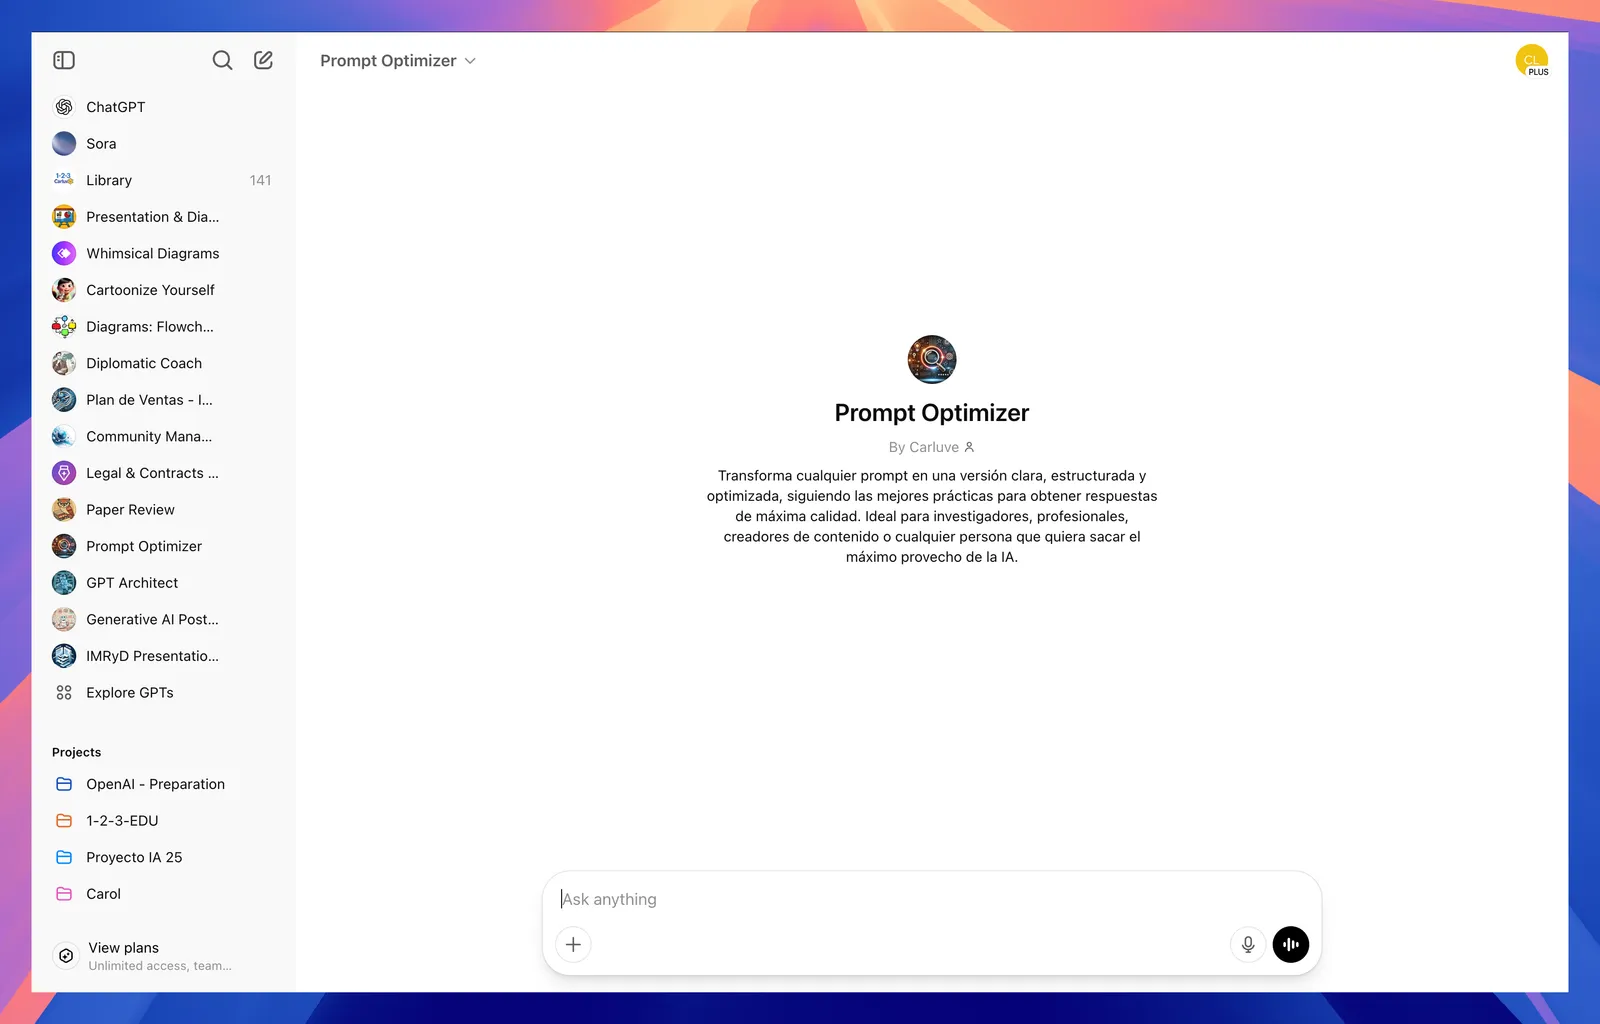
Head over to My GPTs and start crafting. With well-thought-out instructions, your assistant will feel less like a template and more like a tailored tool – delivering consistent, high-value results chat after chat.